The Installation of Websphere V8.5.5.2 using the Installation Manager:
Hmmm..... The version of the websphere V8.5.5.2 sounds fishy right. but do not worry the V8.5.5.2 is not the complete version of websphere.
The Websphere version is V8.5 with a fixpack of 5 and an interim fix pack of 2 so the complete version is V8.5.5.2.
So lets start with the installation steps,
To install the websphere versions of 8.0 and above IBM has provided a software called as the IBM Installation Manager, this software is used for the installation of the Websphere V8.0 and above.
So first start with the installation of IBM installation manager V1.5.2:
Installation Manager Steps:
Firstly make sure you have all the permissions to install a software in the machine, then click on the installation Icon.


Now lets start with the installation of Websphere:
While downloading the websphere software make sure you download all the parts of the websphere installation, take care that you dont miss anything in it.
Like make one folder for Websphere V8.5 and one folder for V8.5 fixpack 5 and one for V8.5.5 interim fix pack 2.
After downloading and extracting all the parts of the installation software make a new folder and copy all the contents of the Websphere installation from all the parts of the websphere installation folders. Make sure that you dont overwrite any folders or files while doing so.
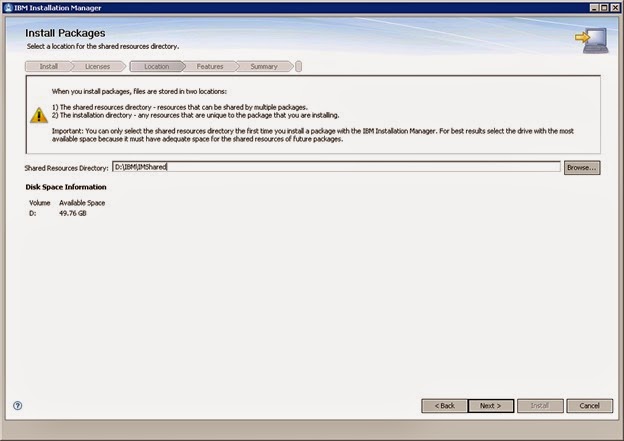
Now lets open the Installation Manager and start the installation of websphere.
Before
Installing, we need to add repository file. Click on file -> Preferences
->Add Repository.
Add Each repository (i.e) websphere V8.5 and then V8.5 fixpack 5 and V8.5.5 interim fixpack 2.
and while adding the repository make sure you select the config.repository file and then click OK.


After add the repository make sure you select each repository and then click test connection.
If it shows as failed then you have failed to copy all the parts to the folder or you have overwritten some files while copying.
so try to make sure you have all the files of each part in the same folder and make sure you dont change the folder names while copying.
Now if test connection is successfull click on Install.


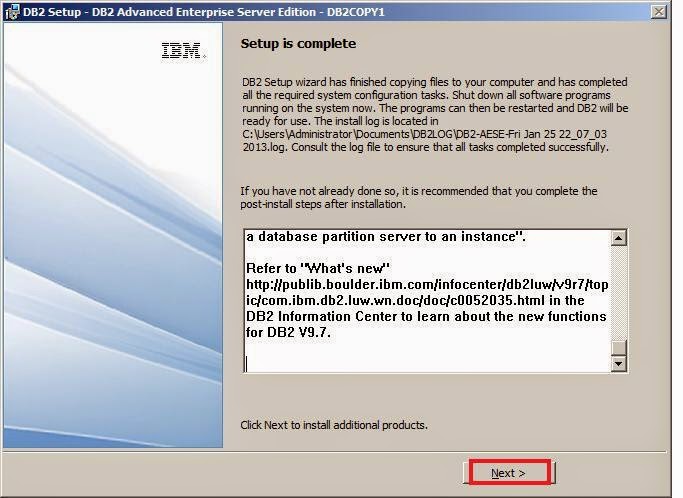
With this the Installation of the websphere is completed,
So go ahead and start the webshpere and try logging into the websphere console.
and in the home page it should look like the below.